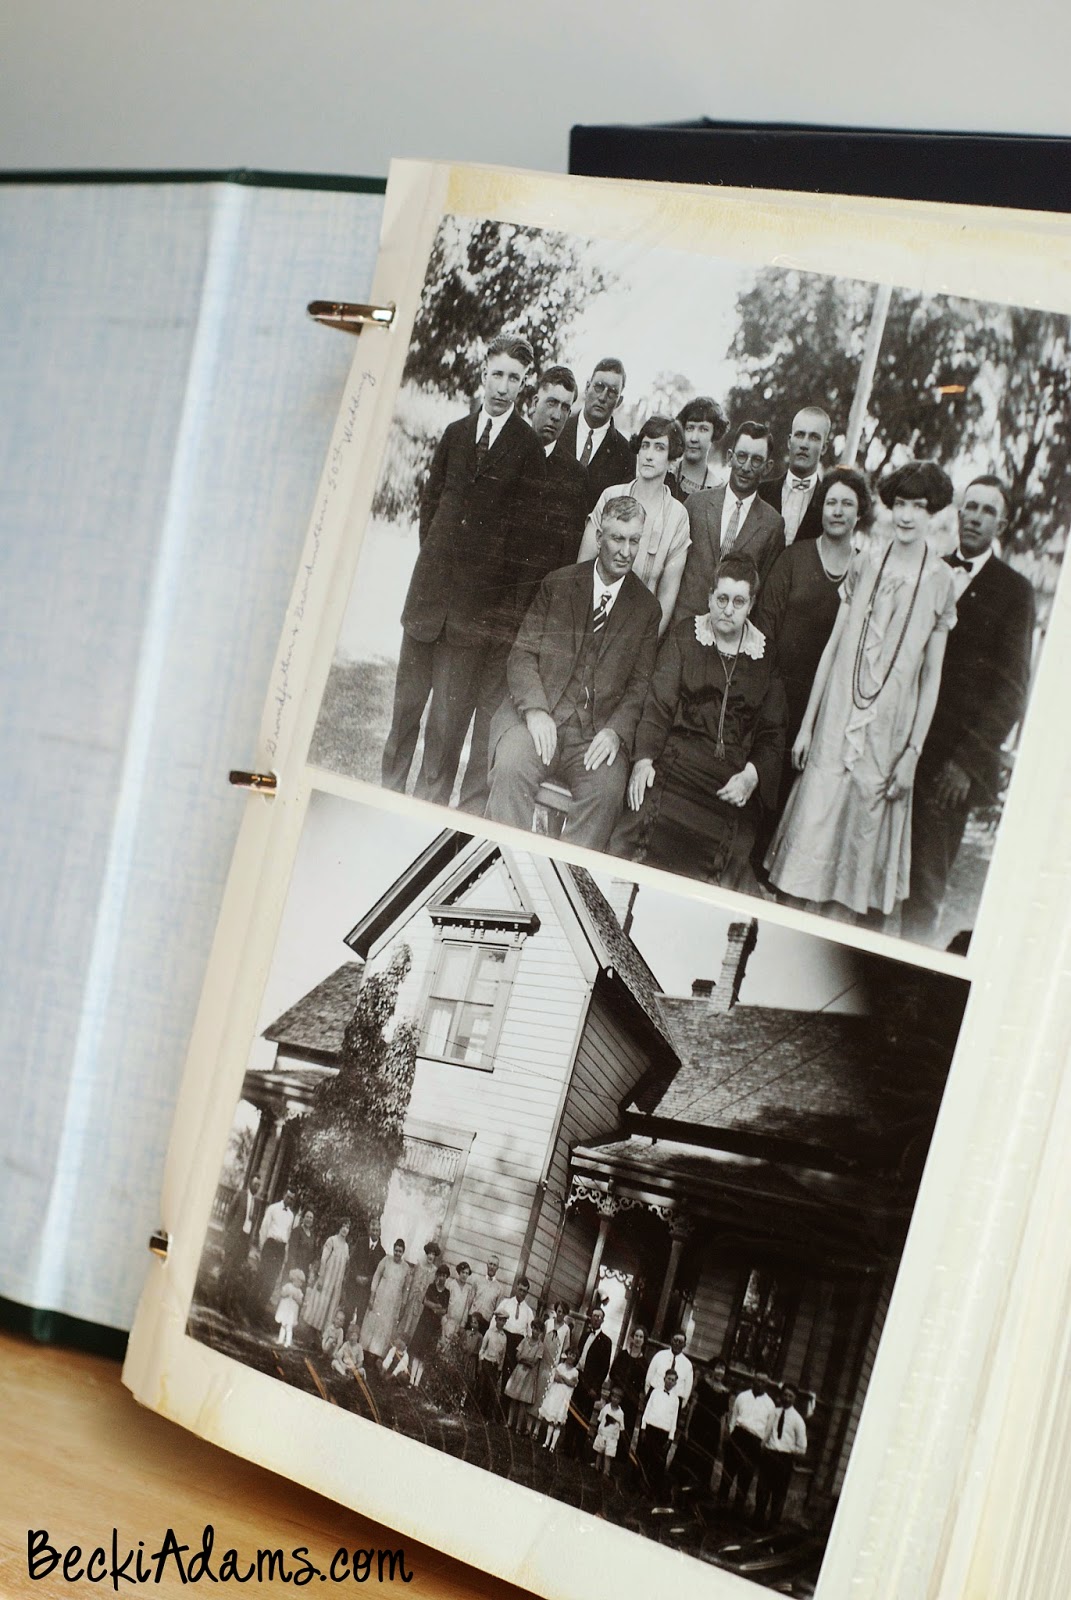
The day after Thanksgiving my family and I made the trek to visit my grandparents. They live about an hour away from our home, unfortunately we don't get to see them as often as I would like to. This particular day we ate, visited, watch some old home videos and then later in the afternoon we helped Grandma put her Christmas decorations up. As I was in the back of her closet getting Christmas decorations out I came across these: (which is why I'm telling you about what happened last Thanksgiving ;)
Well, I knew I couldn't leave them there so I grabbed them along with a stack of Christmas decorations and went back downstairs. As I opened the albums my jaw dropped. One of them was filled with more recent color photos (from the 70's and 80's) and the other two were chock full of beautiful, beautiful black and white photos.
Isn't she beautiful?!?! The sad part is that we have no idea who she is. There are many photos like this but also many that were written on or had writing next to them. I poured over each page in every album. Inside I was sick, I knew that these photos were crumbling because of the albums they were in. About 30 years ago in the late 70's early 80's manufacturers made what were called 'magnetic' albums. These albums were made from a thick cardstock, almost like chipboard material covered with thin strips of adhesive, very acidic adhesive. The adhesive is what was causing my family photos to fall apart. Covering these adhesive pages is a thin layer of plastic. Some of the plastic covering is made of PVC and some were made of Mylar. I don't know which plastic was on my grandparents album but either plastic is not good. The plastic keeps the acidic fumes close to the photos and therefore the photos deteriorate even faster.
If you look at the edges of the adhesive papers in these photos you can see the edges of the pages are already yellowing and starting to crumble.
When I saw the pages and some of the photos starting to yellow I knew I had to get them out of the albums. I asked my grandma if I could take the albums and restore them for her. Her reply made me smile, "sure, I'm so glad that you care enough about some old photos that you'll take care of them" Me, care about photos?!? My life pretty much revolves around photos.
I stuffed the albums in my bag and headed home. As we drove home I poured over the photos. I grew more and more apprehensive of this huge project I had just created for myself. When I got home I put the albums in my bedroom and let them sit. I just had a hard time wrapping my head around how I was going to get so many photos into albums. I knew I couldn't scrapbook them all in traditional layouts so they sat there in my bedroom. One day I was thinking about this massive project and then it dawned on me. Pocket pages! Yes, that was my answer! I could put the photos into pocket page protectors. It would preserve them and it wouldn't take nearly as long as making traditional layouts would.
Once I had a plan in my head I started gathering supplies.
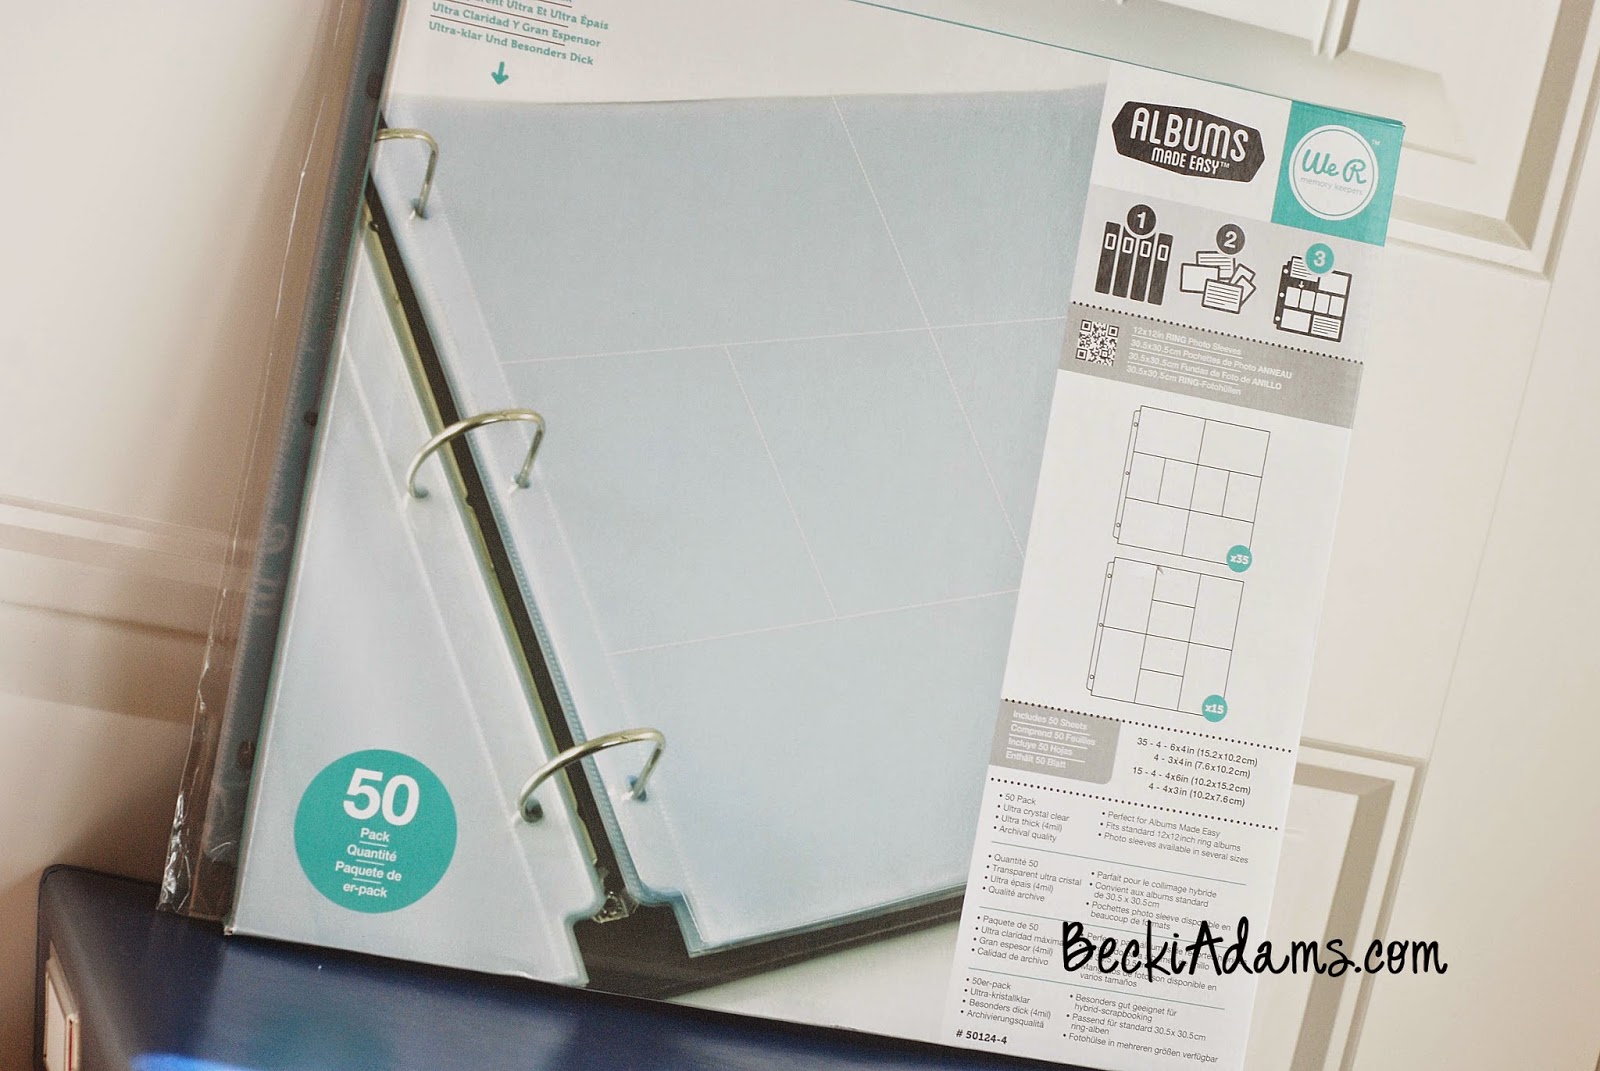
I knew I wanted beautiful high quality albums, so We R Memory Keepers came to mind. It's no secret that their albums are beautiful and the best quality. WRMK also has pocket page protectors and journaling cards.
I also wanted to make sure there was a digital copy of these photos because most of them are one of a kind. I bought this Photo, Slide, and Negative Scanner and I must say that I was thrilled with the way that it worked. It scanned the photos directly to a memory card and all I have to do is upload those files to dropbox and then my entire family can have access to these priceless photos and it was only around $40.00.
I also had one other supply gathered for this project. It's a little strange but it was a necessity. Yup, it's dental floss. Unflavored, please. Oh, and band-aids. Don't forget band-aids.
Over the next couple of weeks I'll have more details about the entire process we went through to restore these old albums. (Yes, I said we. This is a project that took an army to complete.)
Make sure you stop by next week for Part 2 of Restoring Old Photo Albums into Pocket Page Scrapbooks.
(Update: Part Two and Part Three)
Here's a list of supplies that I gathered for this project:
We R Memory Keepers Albums
We R Memory Keepers Photo Sleeves
Photo, Slide, and Negative Scanner
Waxed Dental Floss
Project Life Journaling Pens


Such an awesome idea, Becki!! I'm glad that you let us be a part of it!
ReplyDelete:) thanks Kayla~ I so appreciate your help!
DeleteThese pictures are amazing!!! Can't wait to see what you do.
ReplyDeleteThank you Jenn! I hope you like my upcoming posts.
DeleteSuch a great idea! One of the reasons I started scrapbooking was because when I looked through my parents old albums of their relatives the pictures were so beautiful but no one had any idea who the person was, or what the event etc was. I love story telling and I love that I can do it creatively.
ReplyDeleteWow, Vanessa! What a great story! I love the same aspects of scrapbooking; I love creatively telling a story.
DeleteI'm tackling the same project except my photos aren't as vintage as yours :) it was literally a pain to use waxed floss. My hands and fingers were throbbing after 10photos! I was out of UNDU adhesive remover which was my first choice but now I'm waiting for my order. From amazon to get in. Maybe you want to look into UNDO as well? :) just a thought. Anyway good luck on your project!
ReplyDeleteThank you Kai! I have used UNDU but I was concerned about using on photos that were so old. The waxed floss had my fingers in pain too but after I put the band-aids on it was much better. Good luck with your project!
DeleteI ran across your pin, thank you so much for that. I am currently working on 4 Foot Locker size trunks, 1 large suitcase, and several assorted sized boxes full of albums and photos. I only have 4 more " magnetic " albums to empty. Thank goodness! My scanner does negatives, slides, and photos and have been debating about investing in a copier like you got. You pin has been very inspiring to me.
ReplyDeleteThank you again.
Toni
First of all, I apologize for the delay in my response. Thank you for your kind comments. Good luck with your photo projects. It sounds like you've got a lot of work ahead. How blessed your family is for your willingness to take this project on! Best, Becki
DeleteThis looks like a huge project, but one I am sure you're glad you took on! My mom has a big pile of albums, too... I (may) try to tackle one or two of them myself, someday. The dental floss looks like a really good tip!
ReplyDeleteGood luck with your project! It's not easy to take on a project like that but it's worth it in the end! <3 Becki
DeleteGreat idea, but I used Un-do to remove photos from magnetic album pages...doesn't damage anything and comes off in a snap.
ReplyDeleteThat's great! I'll have to try that. Thanks for the tip! :)
DeleteMy mother-in-law had all of her pictures in old boxes. After she passed a few years ago, one of her daughters put them in sticky albums. I wanted to scan them, so I asked her if I could take them out of those albums and put them in other ones. She agreed and I also used the pocket pages. My biggest problem was that all of those old pictures were different sizes and some had been cut (or folded) for whatever reason. It took awhile to get them done, but I'm so happy I did. I have all the scans and she has the photos in safe albums now. Some of the pictures were over 100 years old. Good luck with your project. It's well worth it.
ReplyDelete